5 Steps To Transferring An Image Using Shipping Tape
Hastypearl
Don’t you think the idea of Transferring An Image, is magical ?
For some reason it always has been for me.
I guess because it’s not a perfect art, so the wonder of seeing if it’s going to work, holds me. : )
Well, I think THIS 5 Step Process will finally be the One that you will go back to over and over, again.
It’s Easy and Fun.
Let’s get started….
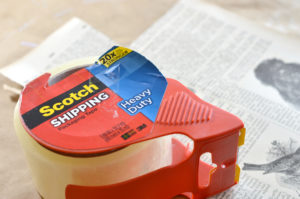
This method works best with Heavy Duty Shipping tape.
Tear off the size tape that you want Your final transfer to be.
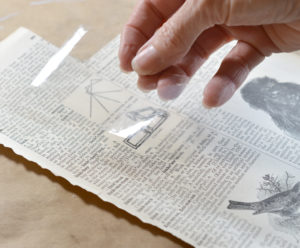
Lay the tape on your paper, smoothly. I used a Vintage Dictionary page, that had lovely engravings.
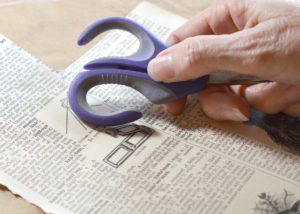
Rub the tape with something hard, but smooth, like a bone folder. I used my scissor handles.
Take your time with this, making sure that you rub over the entire image.
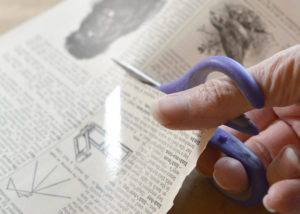
Cut around Your shipping tape.
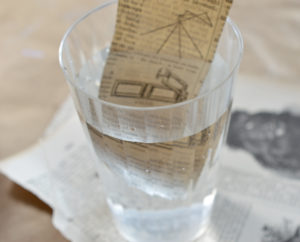
Drop your tape with newly attached paper into water and let it soak…
…for 5 minutes.
Or, long enough to sing your favorite song all the way through…twice…
but, not long enough to bake a batch of cookies ; )
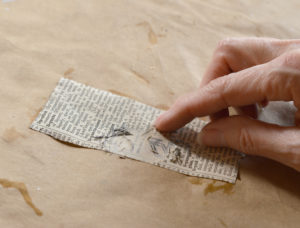
After the paper is good and wet, take it out of the water bath and begin gently rubbing the paper from the back of the tape. You can dip your finger in the water, if the paper dries out. Keep rubbing, until you get as much of the paper removed as you want. Don’t go all Rambo (overdo) with it, or you could literally remove the ink that you wanted transferred, in the first place.
Slow and steady wins the race!
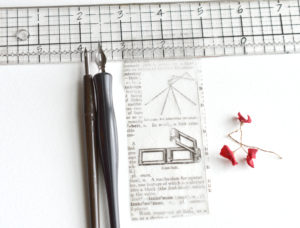
And there you go! Beautifully clear tape with your image safely Transferred.
You’ll literally made your Own (non-sticky ) Tape, by Transferring your favorite images !
As a Creative, I know that You will think of a Jillion ways that you can use this in your Art, Collage, Assemblage, Scrapbooking, Card Making, and yes, now You can try all kinds of papers and tapes to see what You’ll get.
It’s what we do as we Explore Vintage Parts and Heirloom Art (making), Together!
*
There’s so much going on in Hastypearl land.
We’ve seen new Subscribers/Followers here at the blog and I’ve sent them my first Newsletter. If you would like to join us as we Explore Vintage Parts and Heirloom Art, Together, sign up on the right side of this page.
We have been working steadily on our new Website, Hastypearl.com. You HAVE to look around. I would love your feedback. I’ve received some wonderful comments already. I love that You want to engage with me, there.
We’ve now opened up the Website Hastypearl Shop, too. I’ve been listing my For Sale Mixed Media Art, little by little. I can’t wait for you to take a look. Shipping is included in the prices for the lower 48 US States, but I can figure shipping for Everyone else, if you will ask before you purchase, making it super easy for You, my Customers.
Finally, I am inviting you to Follow me over at Instagram !
If you already “play” on Instagram, I would love for you to please Find and Follow me at @hastypearl.
I have a great bunch of friends there already, but I look forward to you joining us! It’s super easy to sign up and You could post Your first beautiful image, immediately!
See? I said that there was a lot going on in Hastypearl land !
*
I’m so happy that you stopped by today.

Best as Always and I’ll see you back here, soon : ) Laura aka hastypearl
2 thoughts on “5 Steps To Transferring An Image Using Shipping Tape Hastypearl”
Comments are closed.
Thanks for this Laura – I have tried this method in the past and loved the result! xxx
Great!
I love your work, friend and soooo glad to see you stopped by.
Hope to see you again, often.
Best to You…Laura